Why April Is the Right Time to Think About Your AC Condenser
April is the right window to clean your AC condenser coils because it gets the job done before Sacramento's first 95°F day — typically arriving in May — forces your system to work against a winter's worth of debris buildup. A dirty condenser can raise cooling energy use by 30% or more, per ENERGY STAR's Heat & Cool Efficiently guidance.
Sacramento summers don't ease in slowly. One week it's comfortable enough to leave the windows open, and the next you're hitting the thermostat before 8 a.m. because it's already 95 degrees outside. By the time that happens in June, your AC system should be ready to run — not struggling through its first real workout of the year with dirty coils and reduced airflow.
The condenser unit sitting outside your home is one of the hardest-working components in your cooling system, and it spends the entire fall and winter collecting debris, dust, cottonwood, and whatever else blows through your yard. Cleaning the condenser coils in April — while the weather is still mild and you're not desperate for cool air — is one of the most cost-effective ways to protect your energy bill and reduce your chances of a breakdown when temps climb.
This guide walks through exactly what to do, what to watch for, and where the job ends for a homeowner and begins for a technician.
What Condenser Coils Actually Do
The condenser coil is the outdoor heat exchanger that releases the heat your AC pulled out of your home. Refrigerant carries that heat from inside your house out to the coil, where a fan blows air across it to release the heat outside.
When the coil is coated in dirt, cottonwood, or compressed debris, air can't move through it efficiently. Your system has to run longer and work harder to do the same job, which raises your electric bill and puts extra strain on the compressor — the most expensive component in the system.
In areas like Rancho Cordova, Fair Oaks, and Carmichael, cottonwood season arrives in late spring and can clog condenser fins fast. Starting the cleaning process in April puts you ahead of that.
Tools and Supplies You'll Need
You need a garden hose, a fin comb, foaming coil cleaner, a screwdriver, gloves, and eye protection — nothing specialized. Gather the following before you start:
- Garden hose with a spray nozzle (not a pressure washer)
- Fin comb or soft-bristle brush
- Coil cleaner spray (foaming, no-rinse formulas work well; available at most hardware stores)
- Screwdriver for removing the access panel
- Work gloves and eye protection
Keep the pressure washer in the garage. The aluminum fins on a condenser coil are easy to damage with high pressure, and bent fins restrict airflow just like debris does.
Step-by-Step: How to Clean the Condenser Coil
Cleaning the condenser is an eight-step process: kill power, clear the area, open the unit, remove debris, apply coil cleaner, rinse, straighten fins, and run a short test. Work through the steps in order — each one builds on the last.
1. Turn off power to the unit. Go to your electrical panel or the disconnect box mounted near the outdoor unit and shut off power completely. Do not skip this step.
2. Clear the area around the unit. Remove any leaves, sticks, or overgrown vegetation from around the unit. You want at least 18 to 24 inches of clearance on all sides for proper airflow. Trim back any shrubs that have crept close over the winter.
3. Remove the outer panel or top grille. Most residential condensers allow you to remove a side panel or top grille with a screwdriver. This gives you better access to the coil fins and the interior of the unit.
4. Remove loose debris from inside the unit. Gently clear out any leaves or dirt from the bottom pan by hand or with a soft brush. Cottonwood and seed pods tend to accumulate here, especially in neighborhoods near the American River Parkway or other areas with heavy tree cover.
5. Apply coil cleaner. Spray the foaming coil cleaner on the fins from the inside out if possible, which pushes debris out rather than deeper into the coil. Follow the product instructions for dwell time — usually five to ten minutes.
6. Rinse with the garden hose. Use a gentle stream and rinse the fins from the inside out. Work around the coil evenly. Let the unit dry before restoring power.
7. Straighten any bent fins. If you notice sections where the fins are bent flat or compressed, a fin comb can straighten them out. Crushed fins reduce airflow the same way dirt does.
8. Restore power and do a quick test run. Turn the system on and let it run for a few minutes. Stand near the unit and feel the air coming off the top — it should be noticeably warm, which means the system is transferring heat properly. Listen for any unusual rattles or vibrations.
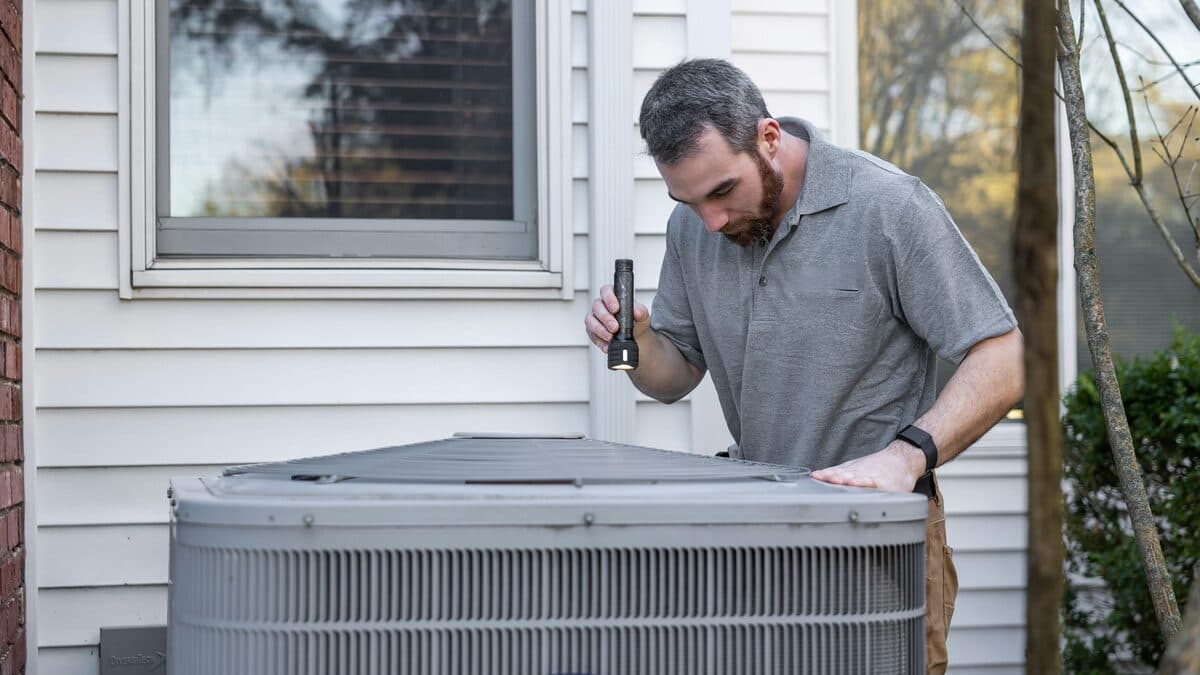
What to Check While You're Out There
Inspect the refrigerant lines, the concrete pad, and the disconnect box while the unit is open — three quick visual checks that cost nothing and surface the problems most likely to break the system in July. While you have the unit open and the area cleared, run through these:
- Refrigerant lines: Look at the insulated copper lines running from the unit into your home. The foam insulation should be intact. Cracked or missing insulation is worth noting.
- The pad the unit sits on: Condenser pads shift over time, especially in clay-heavy soil common in parts of Sacramento and Citrus Heights. The unit should sit level.
- The disconnect box: Look for any obvious signs of corrosion or damage around the electrical connections. Don't touch the wiring — just note anything that looks off.
None of these require you to do anything technical. You're just gathering information before the season starts.
When to Call a Pro
Call a licensed HVAC technician when you see ice on the lines, severely damaged fins, weak cooling after cleaning, or unfamiliar grinding noises — those symptoms require refrigerant, electrical, or mechanical work that a homeowner cannot safely complete. Call a pro if:
- The coil fins are severely damaged across large sections of the unit. A fin comb handles minor bending, but a coil that's heavily crushed or corroded may need professional attention or replacement.
- You notice ice on the refrigerant lines or the coil itself when the system runs. That's typically a sign of low refrigerant or restricted airflow — not something you can fix with a hose.
- The system isn't cooling effectively after you've cleaned the coil. If airflow and the coil look fine but the house isn't reaching setpoint, the issue is likely refrigerant charge, a failing compressor, or something in the air handler.
- You hear grinding, rattling, or humming that wasn't there before. Those sounds usually point to a fan motor, capacitor, or contactor that's starting to fail.
- You're not comfortable opening the unit at all. There's no shame in skipping the DIY step. Having a technician handle the spring cleaning and inspection together is a perfectly reasonable approach, and many homeowners in Roseville and Gold River do exactly that before the first heat wave hits.
Get Ahead of the Heat This April
One hour of condenser maintenance in April prevents the $400 emergency call and the weeks of inflated electric bills that arrive when your system is forced to work harder than it needs to. In Sacramento, where summer temperatures routinely push above 100 degrees, your AC doesn't get the luxury of a slow warmup period.
If you'd rather have a professional handle the cleaning and inspection — or if you found something during your own walkthrough that concerns you — the team at PRO MAX HVAC & Appliance Repair is taking spring appointments now. Give us a call at (916) 234-5925 or book online at our contact page. Getting on the schedule in April means you're not waiting in line when everyone else in Rocklin and Carmichael realizes their AC isn't keeping up in late May.
Need appliance repair in the Sacramento area?
Same-day service, 180-day warranty, all major brands. PRO MAX HVAC & Appliance Repair — Carmichael, CA.